


Description
Tools Required:
- Phillips screwdriver
- Adjustable wrench (optional, depending on hardware)
Package Contents:
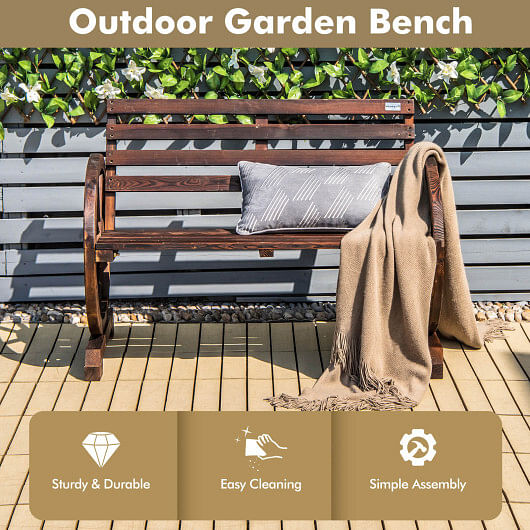
- 1 x Patio Bench
- 1 x Instruction Manual
- Hardware Pack (includes screws, bolts, and washers)
Step-by-Step Assembly:
Step 1: Unboxing
- Carefully unpack all components from the package.
- Lay out all parts and hardware on a flat surface near your assembly area.
Step 2: Preliminary Check
- Verify that all parts listed in the instruction manual are included.
- Check for any visible damage to the wood or hardware. Contact the supplier if parts are missing or damaged.
Step 3: Assembly Process
-
Attach the Legs to the Seat:
- Position the seat (slatted sitting area) upside down on a flat surface.
- Take one leg and align it with the pre-drilled holes on the seat.
- Insert screws (provided) through the holes in the leg into the seat.
- Use a Phillips screwdriver to tighten the screws securely. Repeat this step for the other leg.
-
Attach the Backrest:
- Position the backrest vertically behind the assembled seat.
- Align the backrest with the pre-drilled holes on the seat.
- Insert screws through the holes in the backrest into the seat.
- Tighten the screws using a Phillips screwdriver.
-
Attach the Armrests:
- Take the wagon wheel armrests and position them on each side of the seat.
- Align the armrests with the pre-drilled holes on the seat and backrest.
- Insert screws through the holes in the armrests into the seat and backrest.
- Tighten the screws securely using a Phillips screwdriver.
-
Final Check:
- Once all components are securely attached, flip the bench over carefully onto its legs.
- Ensure all screws are tightened properly to avoid any wobbling or instability.
Step 4: Finishing Touches
- Clean the assembled bench with a soft cloth to remove any dust or debris.
- Place the patio bench in your desired location, such as a garden, patio, or backyard.
Maintenance Tips:
- Regularly inspect and tighten screws if necessary.
- Apply a wood sealant or protective coating annually to maintain the bench's appearance and durability.
- Avoid placing the bench directly on wet surfaces or exposing it to prolonged rain to extend its lifespan.
Safety Precautions:
- Use caution while handling tools and hardware to prevent injury.
- Assemble the bench on a stable and flat surface to ensure stability.
Note: If you encounter any difficulties during assembly or have questions about the process, refer to the provided instruction manual or contact customer support for assistance.