A stubborn tire bead can turn a routine tire change into a frustrating battle. The tire is mounted on the rim, but the bead refuses to move into position and seal. A tire bead blaster, sometimes called a bead seater, is designed to help with that initial seal by releasing a burst of compressed air into the gap between the tire and wheel.
It can be a useful tool for compatible car, truck, and ATV tires. But compressed air is powerful, and tire-and-wheel assemblies can fail violently when components are mismatched, damaged, or inflated incorrectly.
The most important rule is simple: a bead blaster is not a shortcut around proper tire mounting and inflation procedures. Use the tool only as its manufacturer directs, verify the tire and wheel are compatible, and stop if the bead does not seat as expected.
This guide explains how a tire bead blaster works, what to inspect before use, how to understand pressure ratings, and how to recognize dangerous conditions.
What Is a Tire Bead Blaster?
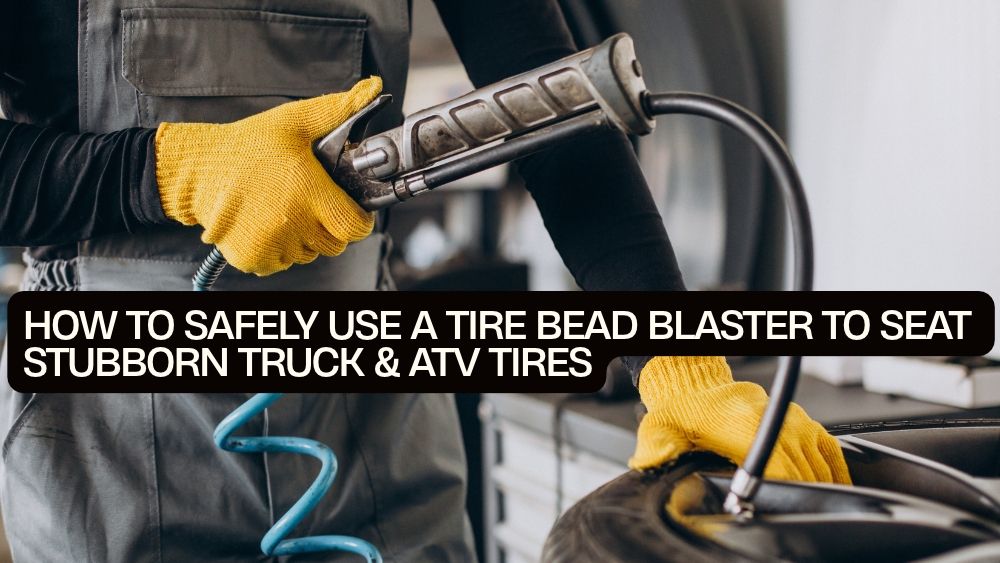
A tire bead blaster is a compressed-air tool with a storage tank and a rapid-release valve. The operator charges the tank with compressed air, positions the outlet near the tire bead, and releases the stored air in a short burst.
That burst can help push the tire sidewall outward so the bead moves toward the rim’s bead seat and forms an airtight seal.
A typical bead blaster includes:
-
A pressure-rated air tank.
-
An inlet for compressed air.
-
A pressure gauge.
-
A handle for positioning.
-
A rapid-release valve.
-
An outlet designed to direct the air burst.
The tool is different from a tire inflator. A conventional inflator adds air through the tire’s valve stem. A bead blaster delivers a quick burst to help establish the initial bead seal.
Once the bead is seated, the tire still needs to be inflated and checked according to the tire and wheel manufacturers’ instructions.
Understanding Bead Blaster Pressure vs. Tire Inflation Pressure
This distinction is essential for safe operation.
A bead blaster’s tank pressure describes the pressure stored in the tool before its air burst. Tire inflation pressure describes the pressure inside the tire after it has been mounted and inflated.
They are not the same measurement and should never be treated as interchangeable.
For example, the supplied VEVOR 5-gallon tire bead blaster lists a maximum tank pressure of 145 PSI and an operating range of 85–116 PSI. Those figures describe the tool’s specifications, not a safe tire inflation pressure or a recommended pressure for seating every tire.
Never use the bead blaster’s maximum tank pressure as a target for inflating the tire. Follow the tire, wheel, and tool manufacturers’ instructions for each separate step.
Tire bead seating pressure is also not the same as the tire’s final operating pressure. For commercial truck tires, safety guidance from the U.S. Tire Manufacturers Association and OSHA emphasizes controlled inflation, proper restraint, and staying outside the danger trajectory. See OSHA’s tire servicing requirements and the USTMA care and service guidance.
Why Tire Beads Sometimes Refuse to Seat
A tire bead may fail to seal for several reasons. The cause is not always a lack of air.
Common issues include:
-
Tire and wheel dimensions do not match.
-
The bead is not positioned correctly on the rim.
-
The bead or rim seat is dirty or corroded.
-
The tire bead is damaged.
-
The wheel is bent or otherwise defective.
-
The tire is not mounted evenly.
-
The lubricant or mounting procedure is unsuitable.
-
The tire or wheel requires specialized equipment.
A bead blaster may help with a compatible tire that has a stubborn bead, but it cannot correct a mismatched rim, damaged bead, cracked wheel, or incorrect mounting procedure.
If the tire and wheel do not match, do not try to force them together with a larger air burst.
OSHA requires tire and wheel components to be compatible and directs that tires be mounted only on wheels with matching bead diameter and width. OSHA 29 CFR 1910.177
Before Using a Tire Bead Blaster: Safety Checks
Before charging or using a bead blaster, inspect the tool and the tire assembly.
1. Verify tire and wheel compatibility
Check the tire’s size markings and the wheel’s specifications. Confirm that the bead diameter and wheel dimensions match.
Truck wheels can have different designs, including multi-piece rim assemblies. These require specialized procedures and training. Do not attempt to service multi-piece wheels unless you are trained and equipped to do so.
2. Inspect the tire
Look for:
-
Cracks or cuts in the sidewall.
-
Damaged or distorted beads.
-
Signs of previous improper mounting.
-
Evidence that the tire has been run severely underinflated.
-
Bulges, separations, or other structural damage.
A tire with suspected internal damage should be evaluated by a qualified tire technician. Do not try to force a damaged tire to seat.
3. Inspect the wheel
Check the wheel for cracks, bends, corrosion, damaged bead seats, or other defects. Do not use a damaged wheel.
If the rim is mismatched or damaged, stop and replace or professionally inspect it before proceeding.
4. Inspect the bead blaster
Check the tank, gauge, valve, handle, fittings, and air connections. Do not use the tool if any part appears damaged, leaks, or operates inconsistently.
Use only a tool with a readable gauge and functional release controls. Follow the tool’s manual for inspection and maintenance.
5. Prepare a safe work area
Keep bystanders away. Use appropriate eye and hearing protection, and make sure the area is free from hazards that could interfere with handling the tool.
Tire servicing can involve a dangerous release of stored energy. OSHA and tire-industry guidance stress the importance of training, proper equipment, and remaining outside the likely trajectory of a tire or wheel failure.
Safe Bead Blaster Use: A High-Level Workflow
The exact operating steps depend on the tool, tire, and wheel. Always use the instructions supplied with your specific equipment. The following is a safety-oriented overview, not a substitute for the manufacturer's operating manual or professional tire-service training.
Step 1: Mount the tire correctly
Use the appropriate tire mounting equipment and procedure. Confirm that the tire and wheel are compatible and that the bead is not damaged.
Use only a suitable, nonflammable tire mounting lubricant when recommended by the tire or wheel manufacturer. Do not use petroleum products, starter fluid, ether, gasoline, or other flammable accelerants.
The USTMA commercial truck and bus tire guide specifically warns against using flammable materials to lubricate or seat tire beads.
Step 2: Follow the bead blaster’s instructions
Read the tool manual before use. Confirm its operating pressure range, maximum pressure, and approved application.
Do not exceed the tool’s pressure rating. Do not assume that the same setting is appropriate for every tire size or wheel type.
Step 3: Keep clear of the tire’s danger zone
A tire or wheel assembly can separate with explosive force if something goes wrong. Keep your body out of the likely trajectory and do not lean over or reach across the assembly.
For commercial truck and bus tires, OSHA’s procedures require a restraining device during inflation, with specific exceptions and controls. Follow the applicable rules and the tire manufacturer’s instructions. OSHA tire servicing standard
Step 4: Stop if the bead does not seat
If the bead does not seat as expected, do not keep increasing pressure or repeatedly firing the tool in an attempt to force it.
Stop and determine why the bead is not moving. The tire may need to be repositioned, the mounting process may need to be corrected, or the tire and wheel may be incompatible or damaged.
If an assembly needs adjustment, follow the manufacturer's safe deflation and servicing procedure first.
Step 5: Inspect after seating
Once the bead is seated, inspect both sides of the tire for even seating. Look for irregularities, bulges, distortions, or signs of damage.
Do not proceed with inflation if the bead is uneven or the assembly appears abnormal. Have a qualified technician inspect it.
Truck Tires vs. ATV Tires: Important Differences
A bead blaster may be marketed for cars, trucks, and ATVs, but the safety requirements and equipment needs can vary significantly.
Truck tires
Truck tires can contain substantial stored energy, particularly at higher inflation pressures and larger sizes. Commercial truck and bus tires require strict servicing procedures, and multi-piece wheels involve additional hazards.
Use trained personnel and equipment appropriate to the specific tire and wheel. A portable bead blaster does not replace an OSHA-compliant restraining device or other required safety controls.
ATV tires
ATV tires are smaller, but they are not automatically low-risk. Their bead and rim designs can differ, and some use specialized wheel systems.
Check the tire and wheel specifications and use the procedure recommended by the manufacturers. Do not assume that a tool suitable for one ATV tire will be appropriate for every ATV or UTV wheel.
Passenger-car and light-truck tires
These may be more familiar to DIY users, but the same basic hazards remain. A mismatched or damaged assembly can fail violently.
Use compatible parts, proper mounting equipment, and controlled inflation. Stop if the bead will not seat within the manufacturer’s specified limits.
Bead Seating Pressure and the Risk of Tire Explosion
The keyword phrase “tire bead blaster seating truck tire bead explosion pressure” points to a serious safety concern: trying to seat a bead by exceeding the permitted pressure can cause a catastrophic failure.
The U.S. Tire Manufacturers Association warns never to exceed 40 PSI when seating beads on the commercial truck and bus tires covered by its guidance. It also directs technicians to stop if the bead has not seated by the stated limit, fully deflate the assembly, and investigate the cause. Follow the applicable tire and wheel manufacturer’s limits, which may be lower. USTMA care and service guide
This is not a universal pressure target for every tire. The correct limit depends on the tire, wheel, and applicable servicing procedure.
If a tire shows sidewall bulges or irregularities, or if you hear snapping, cracking, or popping sounds during inflation, stop. Do not approach the assembly. Follow the applicable remote-deflation and inspection procedure and have the tire evaluated by a trained professional.
The CDC/NIOSH tire explosion hazard alert describes the risk of severe injury from tire and wheel failures and emphasizes staying outside the likely path of released air, tire debris, and wheel components.
Common Tire Bead Blaster Mistakes
Treating tank pressure as tire pressure
The bead blaster tank and tire are separate pressure systems. Use the tool’s operating range only as directed by its manufacturer, and use the tire maker’s specifications for final inflation.
Trying to force a mismatched tire onto a rim
A bead blaster cannot make incompatible components safe. Confirm tire and wheel dimensions before mounting.
Using flammable substances
Never use starter fluid, ether, gasoline, or other accelerants to seat a bead. These can cause an explosion and severe injury.
Standing over the tire
Stay outside the likely trajectory during tire servicing. Do not lean over the assembly or place your body in the path of a potential failure.
Continuing after an abnormal sound or appearance
Bulges, distortion, cracking, popping, or snapping sounds are warning signs. Stop and follow the manufacturer's safe procedures. Do not continue simply because the bead appears close to seating.
Ignoring the tool’s condition
A damaged gauge, valve, tank, or fitting can compromise safe operation. Inspect the tool before each use and follow its maintenance instructions.
Choosing a Tire Bead Blaster for Your Shop or Garage
When comparing bead blasters, look beyond tank size or maximum PSI.
Consider:
-
Pressure rating: Does it match the tool’s intended application and instructions?
-
Gauge quality: Is the gauge easy to read and in good condition?
-
Valve design: Can the tool be controlled as specified by the manufacturer?
-
Tank capacity: Is it appropriate for the tire applications you service?
-
Construction: Are the tank and components rated for the stated pressure?
-
Compatibility: Does the manufacturer specify use with your tire and wheel types?
-
Instructions and support: Are the manual and safety warnings available?
The VEVOR 5-gallon tire bead blaster lists a 19-liter tank, pressure gauge, handle, 145 PSI maximum tank pressure, and 85–116 PSI operating range. Review the manufacturer's manual and confirm suitability for the specific tire and wheel before use.
A product’s stated pressure range does not establish that it is suitable for every truck or ATV tire. For commercial truck tire service, trained technicians should use equipment and procedures appropriate to the application.
Tire Bead Blaster FAQs
What pressure should I use in a tire bead blaster?
Use only the operating pressure specified in the bead blaster’s manual. The correct setting depends on the tool and application. Do not use the tool’s maximum tank pressure as a tire inflation target.
Can a bead blaster seat a truck tire?
A compatible bead blaster may help with bead seating, but commercial truck tires and wheels require strict safety procedures. Use trained personnel, appropriate equipment, and the tire and wheel manufacturers’ instructions.
Can a bead blaster cause a tire explosion?
A bead blaster is not inherently an explosion, but improper tire servicing can lead to catastrophic tire or wheel failure. Mismatched components, damage, excessive pressure, and unsafe positioning can create serious hazards.
Is it safe to use a bead blaster on an ATV tire?
Only when the tool, tire, and wheel are compatible and the manufacturer's instructions permit it. ATV tires and rims vary, so check the specific specifications rather than assuming universal compatibility.
What should I do if the bead will not seat?
Stop. Do not keep increasing pressure or repeatedly releasing air bursts. Check compatibility and mounting condition, and follow the manufacturer’s deflation and adjustment procedures. If the cause is unclear, have a trained tire technician inspect the assembly.
Can I use starter fluid to seat a tire bead?
No. Never use starter fluid, ether, gasoline, or other flammable accelerants to seat tire beads. They can ignite or explode and cause severe injury or death.
Final Thoughts
A tire bead blaster can be a useful tool for helping a compatible tire bead move into position, but safe use starts long before the air burst.
Check tire and wheel compatibility, inspect the components, understand the difference between tank pressure and tire inflation pressure, and follow the tool’s instructions. Keep clear of the danger trajectory, use the proper restraints and procedures for the tire type, and stop if the bead does not seat within the manufacturer’s limits.
For truck tires, especially commercial or multi-piece wheel assemblies, tire servicing belongs in the hands of trained professionals with the right equipment. A stubborn bead is a problem to diagnose, not a reason to push pressure higher.