A great playroom does more than give kids somewhere to burn off energy. Done well, it becomes a little creative laboratory where cardboard turns into castles, paper becomes a canvas, and a perfectly innocent cup of paint somehow ends up on a sleeve.
The trick is designing the room so creativity has somewhere to go.
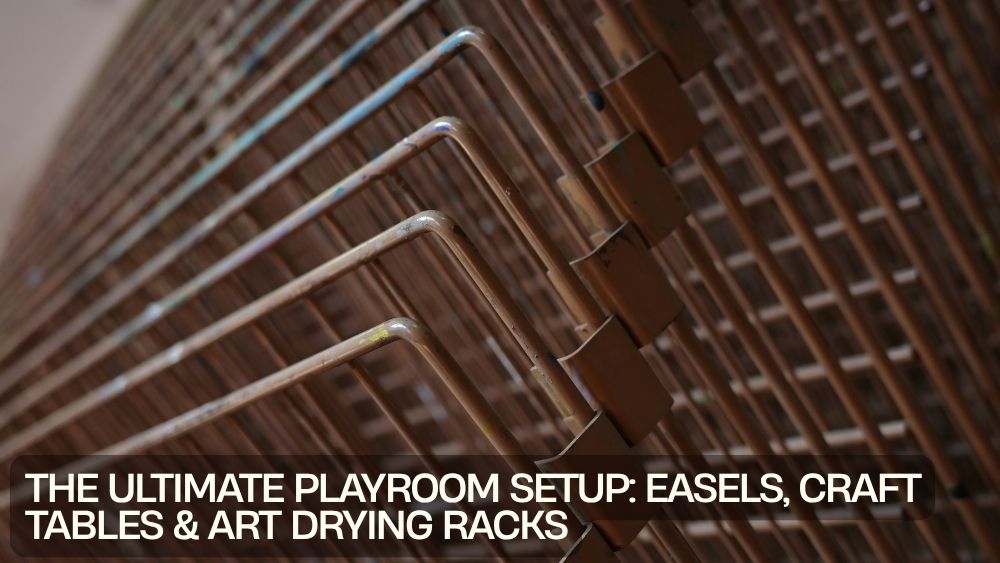
An easel gives kids a dedicated place to draw and paint. A craft table creates a comfortable workspace for cutting, gluing, coloring, and building. Storage keeps supplies under control. And an art drying rack for kids classroom setup gives finished projects a safe place to dry without covering every available countertop.
Whether you're creating a home art corner, daycare activity room, preschool classroom, homeschool space, or community creative area, the same principle applies:
Make the creative process easy to start, easy to clean up, and easy to organize.
Here's how to build a playroom that actually works.
Start With the Creative Zone
Before buying furniture, decide where the main art activity will happen.
You don't need an enormous room.
Even a modest playroom can accommodate a functional art area if you divide the space into zones.
A practical creative zone might include:
- Easel
- Craft table
- Child-sized chairs
- Art supply storage
- Drying rack
- Washable floor protection
- Paper storage
- Cleaning supplies
Keeping these items relatively close together makes the room easier to manage.
Kids can grab supplies, create their project, move finished artwork to the drying area, and clean up without turning the entire room into a scavenger hunt.
Why an Easel Belongs in a Playroom
An easel gives children a different way to create compared with drawing flat on a table.
Standing while drawing or painting changes the experience.
It encourages larger arm movements and gives children a more visible working surface. It can also accommodate different activities throughout the day.
An easel can be used for:
- Painting
- Drawing
- Chalk art
- Letter practice
- Number activities
- Magnetic learning
- Collaborative artwork
For younger children, accessibility matters.
The working surface should be positioned at a comfortable height, and the surrounding area should provide enough room for children to step back without bumping into furniture.
Choose washable materials when possible
Playroom furniture is going to encounter paint.
This is not a prediction. It is practically a law of physics.
Look for surfaces that can be wiped down easily and avoid creating a setup where delicate furniture sits directly beside messy art activities.
Choosing the Right Craft Table
The craft table is the heart of the creative workspace.
The ideal table depends on the children's ages, the number of users, and the activities you expect to host.
Consider table height
Children should be able to sit comfortably without constantly lifting their shoulders or reaching awkwardly.
A table that is too high can make detailed work uncomfortable.
A table that is too low can encourage poor posture.
For classrooms or shared playrooms, consider furniture designed specifically for children rather than simply using a standard adult dining table.
Consider the tabletop
A creative table should have enough room for the activity without becoming so large that it dominates the room.
Think about what will actually happen on the surface.
If children regularly work with:
- Construction paper
- Crayons
- Paint
- Clay
- Glue
- Scissors
- Craft kits
you'll want enough workspace for materials and the project itself.
Give Every Art Supply a Home
An organized art area doesn't mean every crayon needs military-grade alignment.
It means children and adults should know where things belong.
Use clearly defined storage zones for:
Drawing supplies
Keep crayons, colored pencils, markers, chalk, and washable pens together.
Painting supplies
Create a separate area for paintbrushes, palettes, cups, aprons, and washable paints.
Paper
Store frequently used paper within easy reach.
Larger sheets may need vertical or flat storage to prevent bending.
Craft materials
Create containers for:
- Construction paper
- Foam sheets
- Stickers
- Craft sticks
- Yarn
- Pom-poms
- Pipe cleaners
- Glue
- Child-safe scissors
Avoid storing every material in one giant container.
A single "craft monster box" may look efficient until someone needs one tiny purple pom-pom buried approximately seven layers deep.
The Missing Piece: An Art Drying Rack
One of the most overlooked pieces of a children's art area is the drying rack.
Wet artwork needs somewhere to go.
Without a dedicated drying area, paintings end up scattered across:
- Tables
- Shelves
- Counters
- Windowsills
- Floors
- Random pieces of cardboard
That's where an art drying rack for kids classroom setup becomes particularly useful.
A dedicated rack separates wet artwork from active workspaces and helps protect finished projects while they dry.
For classrooms with multiple students creating artwork simultaneously, a drying rack can become one of the most valuable organization tools in the room.
Why an Art Drying Rack Helps
A drying rack provides vertical organization.
Instead of using a large horizontal surface for every wet painting, artwork can be stored in individual shelves or slots.
That can:
- Save table space
- Reduce accidental smudging
- Keep artwork organized
- Improve classroom workflow
- Create a dedicated drying area
- Make finished projects easier to retrieve
For teachers and caregivers, the organizational benefit can be just as important as the drying function.
Choosing an Art Drying Rack for a Classroom
When comparing drying racks, consider four main factors:
Capacity
How many projects need to dry at the same time?
A home playroom may need only a small rack.
A classroom with many students may benefit from a substantially larger capacity.
The VEVOR 50-shelf art drying rack is an example designed around high-capacity art storage, with 50 removable shelves.

That type of capacity can be particularly useful for classrooms, art rooms, daycare centers, and other shared creative spaces where multiple projects may need to dry simultaneously.
Shelf spacing
Consider the size of the artwork children usually create.
If you regularly work with large paper, the shelf dimensions and spacing need to accommodate it without bending or compressing the artwork.
Accessibility
Adults should be able to load and remove projects without awkwardly reaching into the rack.
For children's environments, think carefully about whether children should access the rack independently or whether an adult should manage wet artwork.
Stability
A large drying rack should sit securely on an appropriate floor surface.
Follow the manufacturer's assembly and placement instructions.
Avoid putting it somewhere where children will regularly run into it.
Where Should the Drying Rack Go?
Location can make or break your playroom workflow.
The best position is usually close enough to the craft table that adults can move wet artwork quickly, but far enough away from the busiest traffic paths.
Avoid placing the rack:
- Directly beside a doorway
- In a narrow walkway
- Near climbing equipment
- Beneath leaking windows
- In an area where children frequently run
- Beside a heat source unless specifically permitted
A dedicated art corner works particularly well.
Build a Simple Art Workflow
The strongest playroom setups follow a predictable sequence:
Choose → Create → Dry → Store → Display
Here's what that looks like.
1. Choose
Children select paper and supplies from organized storage.
2. Create
They work at the easel or craft table.
3. Dry
Wet artwork moves to the drying rack.
4. Store
Once dry, finished projects move into folders, portfolios, display areas, or take-home piles.
5. Display
Rotate selected artwork around the playroom or classroom.
This workflow keeps the creative area moving rather than allowing wet artwork to become permanent furniture.
Create a Display Wall
Children's artwork deserves more than a temporary stay on the refrigerator.
A dedicated display area can make the playroom feel personal and encourage children to keep creating.
You could use:
- Clip rails
- Corkboards
- Magnetic strips
- String-and-clips displays
- Frames
- Rotating art galleries
Avoid displaying every single project.
A rotating selection keeps the space visually manageable and gives new artwork its moment.
Make Cleanup Part of the Design
A beautiful art area that takes 45 minutes to clean is not a practical art area.
Design cleanup into the room from the beginning.
Keep basic cleaning supplies nearby, but out of children's reach when they are not age-appropriate for independent use.
Useful items can include:
- Washable cloths
- Paper towels
- Small waste bin
- Recycling container
- Aprons
- Table covers
- Floor mats
- Supply trays
Teach children a simple reset routine.
For example:
Brushes away → Supplies sorted → Table wiped → Artwork to drying rack → Floor checked
Five minutes of cleanup can save a much longer battle later.
Protect the Floor
Paint and glue have a talent for finding the one square inch of floor you forgot to protect.
Use washable mats or floor coverings beneath high-mess areas.
For an easel, consider placing protection slightly beyond the immediate footprint because children don't always paint within the boundaries of the universe.
For craft tables, a wipeable mat can help protect the surface and make cleanup easier.
Keep Messy and Clean Activities Separate
Not every creative activity needs the same setup.
A useful playroom can divide activities into two broad categories.
Wet activities
- Painting
- Watercolor
- Glue-heavy crafts
- Some clay activities
These should stay near the cleaning area and drying rack.
Dry activities
- Coloring
- Drawing
- Puzzles
- Paper crafts
- Building
These can be positioned farther away from wet materials.
This simple division reduces accidental spills and makes supervision easier.
Think About Child Safety
A creative playroom should be designed around both fun and supervision.
Consider:
- Age-appropriate scissors
- Non-toxic art materials where appropriate
- Stable furniture
- Rounded or protected edges
- Secure storage for unsuitable materials
- Clear walking paths
- Stable shelving
- Appropriate supervision
- Easy access to cleanup supplies for adults
Small craft components can present choking hazards for young children.
Paints, adhesives, and other materials should be selected and stored according to their labels and the children's ages.
Classroom vs. Home Playroom Setup
The same basic furniture can serve both environments, but the priorities differ.
| Feature | Home Playroom | Classroom |
|---|---|---|
| Easel | Often one shared unit | May need multiple workstations |
| Craft table | Smaller setup may work | Larger group capacity |
| Drying rack | Moderate capacity | Higher capacity |
| Storage | Compact | Highly organized and labeled |
| Display | Rotating family gallery | Student artwork display |
| Cleanup | Family routine | Structured classroom routine |
| Furniture | Flexible | Durable and frequently used |
A home setup can prioritize flexibility.
A classroom needs to prioritize capacity, durability, organization, and workflow.
How Much Drying Rack Capacity Do You Need?
Don't automatically choose the largest rack available.
Estimate your typical output.
For example:
10 children × 2 wet projects each = 20 drying spaces
If projects are created throughout the week, you may need additional capacity.
A classroom producing large amounts of artwork can quickly outgrow a small rack.
A 50-shelf rack may therefore make more sense in a busy classroom than in a home where only a few paintings are created at a time.
The right capacity is the one that matches your actual workflow.
Common Playroom Setup Mistakes
Too much furniture
A creative area needs open space.
Don't fill every square foot with storage.
No drying area
Wet artwork scattered across the room quickly becomes a logistical problem.
Poor supply organization
If children can't find supplies, they are less likely to put them away.
Table too small
A cramped surface makes collaborative projects frustrating.
Drying rack in a traffic path
Keep it out of high-traffic areas.
No cleanup station
Mess becomes harder to manage when cleaning supplies are located on the other side of the room.
Ignoring vertical space
Walls can hold displays, paper organizers, and storage without consuming valuable floor space.
The Ultimate Playroom Setup Checklist
Before calling your creative zone finished, check:
-
Age-appropriate easel
-
Comfortable craft table
-
Child-sized seating
-
Organized art supplies
-
Dedicated paper storage
-
Art drying rack
-
Floor protection
-
Easy-clean surfaces
-
Safe walking paths
-
Display area
-
Cleanup supplies
-
Storage for finished artwork
-
Age-appropriate materials
-
Stable furniture
-
Adult-accessible cleaning and storage areas
Final Thoughts
The best playroom isn't necessarily the room with the most toys.
It is the room that makes creativity easy.
An easel encourages big ideas. A craft table gives those ideas a workspace. Smart storage keeps materials accessible. And an art drying rack for kids classroom setup provides the missing transition between making artwork and actually keeping it intact.
For classrooms, daycare centers, homeschool spaces, and serious home art corners, a high-capacity rack such as the VEVOR 50-shelf art drying rack can turn a pile of wet paintings into an organized part of the creative workflow.
Build the room around the process rather than the furniture.
Create. Dry. Store. Display. Repeat.
That simple rhythm turns a playroom into a space where creativity has room to breathe and the cleanup doesn't become the main event.