A great makeup kit should make your work easier, not turn every appointment into a treasure hunt.
For mobile makeup artists, beauty professionals, bridal stylists, and freelance glam teams, the right case can completely change how you pack, transport, and organize your kit. Instead of digging through overloaded bags for a specific brush or lipstick, you can create a system where everything has a place.
That is where a rolling beauty train case for mobile makeup artist work really earns its keep.
A rolling case combines storage with mobility, giving you a practical way to move cosmetics, brushes, skincare products, tools, accessories, and backup supplies from your vehicle to a client's home, hotel, salon, studio, or event venue.
But buying a spacious case is only half the job. The real trick is packing it intelligently.
Here is how to build a mobile makeup setup that stays organized, protects your products, and keeps you moving.
Why a Rolling Beauty Case Makes Sense for Mobile Artists
A traditional makeup bag works beautifully when you are carrying a small personal collection.
Professional work is different.
You may need multiple foundation shades, concealers, palettes, brushes, setting products, skincare, disposables, lighting accessories, hair tools, and sanitation supplies. Add a bridal party to the equation and your "small kit" can suddenly resemble a traveling department store.
A rolling makeup case helps solve three common problems: weight, organization, and transportation.
Instead of carrying everything over one shoulder, wheels allow you to move a heavier kit with less effort. Multiple compartments also make it easier to separate categories.
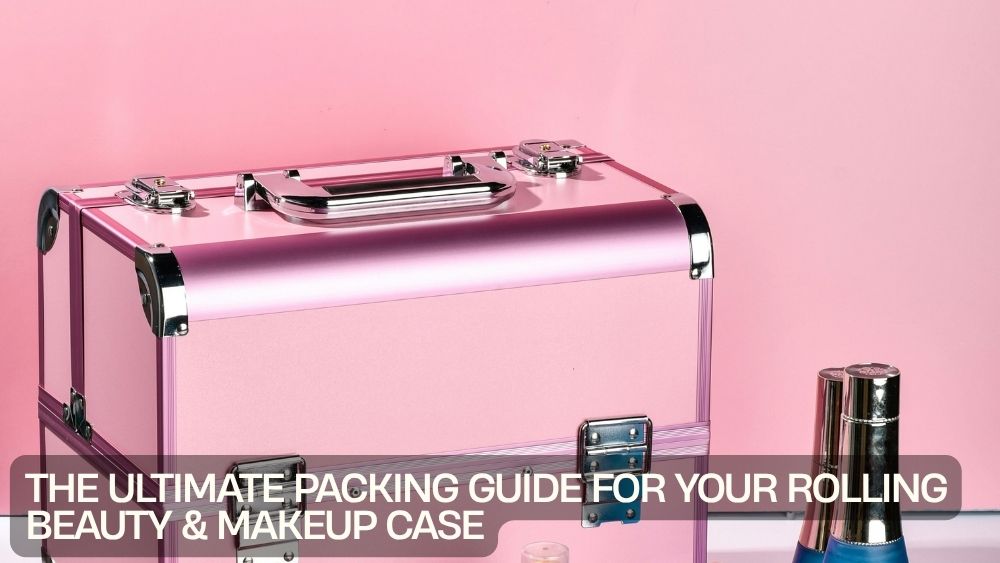
A professional option such as the VEVOR Rolling Makeup Train Case offers three tiers of storage along with wheels, a handle, and a shoulder strap.
The goal is not simply to fill every available compartment.
The goal is to make your kit work like a system.
Step 1: Start With a Master Packing List
Before placing a single product into your rolling case, create a master inventory.
Think of it as your mobile beauty checklist.
Divide your supplies into broad categories:
- Complexion
- Eyes
- Lips
- Brushes and applicators
- Skincare and prep
- Setting products
- Tools
- Sanitation supplies
- Disposable items
- Hair accessories
- Emergency products
- Backup products
This prevents a common mobile-artist problem: packing based on memory.
Memory is unreliable when you are rushing out the door at 5:30 a.m. for a wedding.
A checklist is not.
Once you have your master list, create smaller packing lists for different types of appointments. Your bridal kit, editorial kit, everyday client kit, and event kit may need different products.
Step 2: Pack According to Frequency of Use
One of the smartest ways to organize a beauty case is to think about how often you reach for something.
Products you use repeatedly should be easiest to access.
For example, your most frequently used items might include:
- Primer
- Foundation
- Concealer
- Powder
- Blush
- Bronzer
- Highlighter
- Mascara
- Eyeliner
- Lip products
- Setting spray
- Frequently used brushes
Less frequently used products can go deeper into the case.
This creates a simple hierarchy:
Frequently used = easiest access
Occasionally used = secondary storage
Backup products = lower or rear storage
That arrangement can shave precious minutes from each appointment.
Step 3: Use the Upper Compartments for Smaller Essentials
Multi-tier rolling makeup cases are particularly useful because smaller products can be separated from larger supplies.
Use the upper compartments for items that are small, frequently handled, or easy to lose.
Good candidates include:
- Lip liners
- Eyeliners
- Small palettes
- Sponges
- Tweezers
- Lash tools
- Brow products
- Small brushes
- Sharpeners
- Cotton swabs
- Hair clips
The advantage is visibility.
If everything is thrown into one deep compartment, you will eventually spend five minutes searching for a product that was sitting underneath three palettes the entire time.
Organization should eliminate that scavenger hunt.
Step 4: Create a Dedicated Complexion Zone
Complexion products usually represent one of the most important parts of a professional makeup kit.
Create a dedicated section for:
- Foundations
- Concealers
- Color correctors
- Primers
- Setting powders
- Cream products
- Blushes
- Bronzers
- Highlighters
- Setting sprays
Keep liquid products upright whenever practical.
You can also group foundation shades together rather than arranging them randomly. Consider organizing them from light to deep or by undertone.
For mobile artists working with many clients, this can make shade selection much faster.
Pro tip: Separate everyday shades from specialty shades
You do not necessarily need every shade at the top of your case.
Keep your most frequently used shades easily accessible and reserve specialty shades for a secondary compartment.
That gives you variety without turning your primary workspace into a product avalanche.
Step 5: Organize Brushes Like a Professional
Brushes deserve their own strategy.
Do not simply throw clean brushes into a large compartment with everything else.
Separate them by function:
Face brushes
- Foundation
- Powder
- Blush
- Bronzer
- Highlighter
Eye brushes
- Blending
- Packing
- Detail
- Angled
- Liner
Specialty brushes
- Concealer
- Lip
- Brow
- Small detail work
If your case has dedicated pockets, use them.
Otherwise, consider separate brush rolls or protective sleeves.
And keep clean brushes completely separate from used brushes.
That is not just an organizational preference. It is an important part of maintaining good hygiene between clients.
Step 6: Build a Separate Sanitation Kit
A professional makeup kit should include more than cosmetics.
Sanitation supplies deserve their own dedicated section.
Depending on your workflow and applicable local requirements, your kit may include:
- Hand sanitizer
- Brush-cleaning supplies
- Disposable applicators
- Cotton pads
- Cotton swabs
- Tissues
- Disposable mascara wands
- Disposable lip applicators
- Cosmetic spatulas
- Mixing palettes
- Cleaning wipes
- Small waste bags
Keeping these products together means you can quickly reset your workspace between clients.
For mobile beauty work, organization and hygiene should travel together.
Step 7: Protect Liquids From Leaks
Few things ruin a perfectly organized makeup case faster than a leaking bottle.
Liquids should receive extra attention during packing.
Check that caps are properly secured before transportation. Where appropriate, place leak-prone products inside small sealed cosmetic bags.
Pay particular attention to:
- Foundation
- Setting spray
- Cleansers
- Toners
- Brush cleaner
- Adhesives
- Skincare products
Avoid placing heavy objects directly on fragile containers.
Your case may roll smoothly, but the contents still experience movement during transportation.
Step 8: Pack Heavy Items Low
Think of your rolling beauty case like a tiny piece of luggage.
Heavy products should generally stay lower, while lighter items can occupy upper compartments.
This can help keep the case more stable when you are rolling it.
Good lower-level candidates include:
- Larger palettes
- Backup products
- Bottles
- Tool kits
- Bulkier accessories
Smaller, frequently accessed items can stay higher.
The result is a more balanced case that is easier to maneuver.
Step 9: Create a "Touch-Up" Section
If you work weddings, photoshoots, parties, or other long events, create a dedicated touch-up section.
You may want quick access to:
- Lip products
- Powder
- Blotting products
- Setting spray
- Cotton swabs
- Small brushes
- Lash supplies
- Hair pins
- Compact mirror
This section should be fast to reach.
You do not want to unpack your entire kit every time a client needs a lipstick refresh.
Step 10: Keep Backup Products Separate
Backups are essential, but they should not interfere with your everyday workflow.
Separate primary products from backups.
For example, if you normally carry two foundations in a popular shade range, keep the active bottles in your primary section and backup bottles elsewhere.
This approach also makes inventory easier.
When you return from a busy weekend, you can quickly identify what needs replenishing.
Step 11: Create a Bridal Emergency Kit
Bridal makeup comes with its own category of unexpected moments.
A dedicated emergency pouch can save the day.
Depending on your services and local requirements, consider carrying:
- Extra lashes
- Lash adhesive
- Cotton swabs
- Tissues
- Small scissors
- Tweezers
- Powder
- Lip products
- Makeup remover
- Hair pins
- Safety pins
- Stain-removal supplies
- Small sewing supplies
You may never use half of these items.
That is precisely why they should have their own compact section instead of being mixed into your everyday kit.
Step 12: Pack Based on the Appointment
One of the biggest mistakes mobile artists make is carrying everything to every appointment.
More products do not automatically mean better preparation.
Before leaving, ask:
What does this client actually need?
A natural daytime makeup appointment might require a much smaller kit than a full bridal booking.
A photoshoot may require additional complexion shades and specialty products.
An on-location event may require extra touch-up supplies.
Customize your case rather than treating your entire inventory as one giant traveling suitcase.
Step 13: Label Where Possible
Labels can sound unnecessary until you are working under pressure.
Then they become brilliant.
If your case contains multiple similar containers, label them clearly.
You can use simple categories such as:
- FACE
- EYES
- LIPS
- TOOLS
- HYGIENE
- BACKUP
- TOUCH-UP
You do not need a complicated labeling system.
The best system is the one you can understand instantly.
Step 14: Make Your Rolling Case Client-Ready
A professional kit is also part of your presentation.
Before leaving for an appointment, inspect the exterior and interior.
Check:
- Wheels
- Handle
- Zippers
- Straps
- Compartments
- Product closures
- Brush storage
- General cleanliness
A rolling case such as the VEVOR professional makeup storage organizer is designed around portability, so take advantage of that structure rather than overloading every compartment.

A clean, organized case also makes setup feel more professional when you arrive at a client's location.
A Simple Packing Layout
Here is a practical starting point for a three-tier rolling beauty case:
| Section | What to Pack |
|---|---|
| Top | Frequently used makeup, lip products, small tools |
| Middle | Complexion products, palettes, brushes, skincare |
| Bottom | Backups, larger bottles, heavier tools and supplies |
| Separate pouch | Sanitation and disposable supplies |
| Quick-access pouch | Touch-up essentials |
| Emergency pouch | Bridal/event backup supplies |
You can adjust this layout based on the case design and your workflow.
The important principle is consistency.
If every product has a predictable home, packing and unpacking becomes dramatically easier.
How to Prevent Your Case From Becoming Overloaded
A large makeup case can tempt you into carrying everything.
Resist the urge.
Every unnecessary product adds weight, consumes space, and makes organization harder.
Try the three-question rule before adding something:
- Will I realistically use this during the appointment?
- Is there a specific client or service that requires it?
- Would replacing it with a smaller or multipurpose product make more sense?
If the answer is no to all three, it probably belongs in your main storage area rather than your mobile kit.
Do a Five-Minute Reset After Every Appointment
Your packing system becomes much more effective when you reset the case immediately after work.
Before moving to the next appointment:
- Dispose of used disposables appropriately.
- Separate used brushes.
- Wipe down applicable surfaces.
- Return products to their designated sections.
- Check for empty or low products.
- Replace missing essentials.
- Inspect for spills.
- Repack your touch-up section.
Five minutes of maintenance can prevent an hour of chaotic repacking later.
The Ideal Mobile Makeup Case Is a Workflow Tool
A rolling beauty train case is more than luggage for cosmetics.
It is a mobile workstation.
When properly packed, it helps you move from transportation to setup without turning your entire kit upside down. The combination of rolling mobility, multiple storage levels, handles, and organized compartments can be especially useful for freelance makeup artists who regularly work outside a fixed salon or studio.
The key is to pack around workflow rather than product quantity.
Keep frequently used items close. Separate clean and used tools. Protect liquids. Store heavy items strategically. Build dedicated sections for hygiene, touch-ups, backups, and emergencies.
Most importantly, develop a system that you can repeat.
Because when your client is ready for their final look, the last thing you want is to be rummaging through a mountain of makeup looking for the one brush that decided to disappear.
Final Packing Checklist
Before leaving for your next appointment, run through this quick list:
-
Client-specific products packed
-
Foundation and complexion shades checked
-
Brushes clean and organized
-
Used brushes separated
-
Sanitation supplies stocked
-
Disposable applicators available
-
Liquids securely closed
-
Backup products packed
-
Touch-up kit ready
-
Emergency supplies checked
-
Heavy products positioned appropriately
-
Wheels and handle working
-
Case zipped and secure
-
Inventory updated after the previous appointment
A well-packed rolling case should feel almost boring in the best possible way.
You know where everything is. You can reach it quickly. Nothing leaks. Nothing gets crushed. Your essentials travel with you without becoming a 30-pound puzzle.
That is the real advantage of choosing and organizing a rolling beauty train case for mobile makeup artist work. It turns a pile of products into a portable professional system.
And when your kit works smoothly, you get to spend less time managing your equipment and more time doing what your clients actually hired you to do: create great looks.